

 English
 русский
 中文简体
中文简体 عربى
عربى
Concrete nails are specialized fasteners designed to secure materials to hard masonry surfaces such as concrete, brick, and cement blocks. Unlike ordinary nails, they feature hardened steel construction and a reinforced tip to resist bending and wear. In residential and commercial construction, concrete nails play a critical role in attaching wooden frames, furring strips, cable clips, and trim components directly to rigid surfaces.
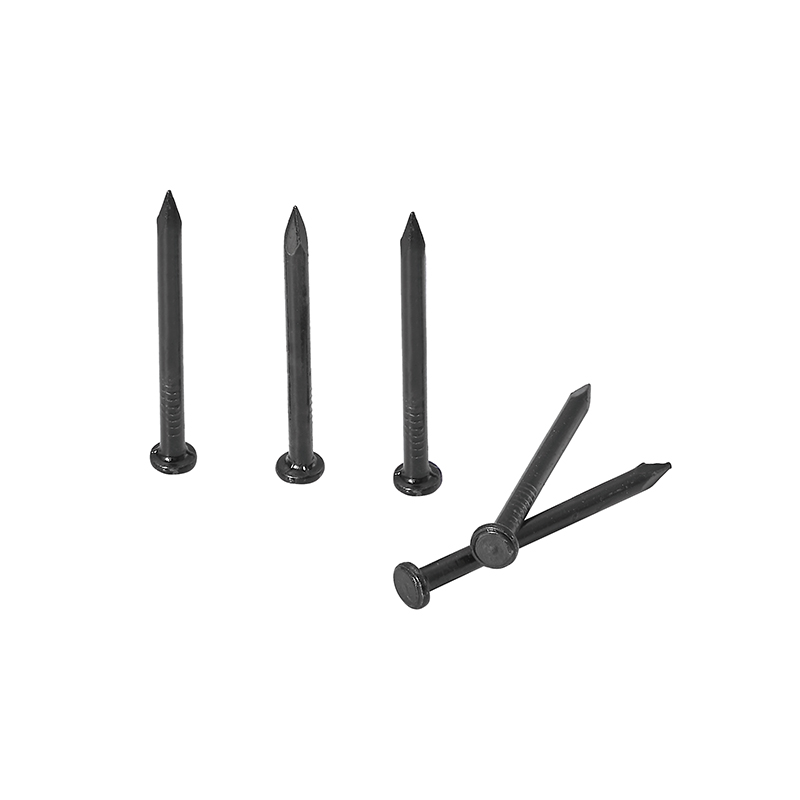
Concrete Nail Basics
Concrete nails are typically manufactured from high-carbon or hardened steel with a surface hardness that can exceed 50 HRC (Rockwell Hardness) after heat treatment. This makes them more suitable for penetrating dense substrates than ordinary smooth-shank nails, which generally have lower hardness and are prone to bending or deflection in masonry applications. In practical settings, concrete nails are often used where drill-and-plug fasteners are not necessary or would slow down workflow.
Differences from Ordinary Nails
There are key differences between concrete nails and ordinary nails used for wood or drywall:
- Material Hardness: Concrete nails are heat-treated for higher hardness, enabling penetration into stone-like materials. Ordinary nails typically lack this level of treatment.
- Shank Design: Concrete nails feature thicker shanks and sometimes ribbed surfaces to increase friction and holding strength in brittle materials.
- Tip Geometry: The tips of concrete nails are sharper and more robust, reducing the chance of bending during impact.
Tests have shown that hardened concrete nails maintain effective retention in concrete with compressive strengths of 20–30 MPa, a range typical of cured residential concrete, whereas ordinary nails usually fail or require supplemental anchors.

Installation Techniques and Tips
Correct installation techniques are essential to ensure that concrete nails perform as expected and that the substrate material remains intact. Installation tips focus on site conditions, tool choice, and execution strategy.
1. Assess the Surface Before Nailing
Before installation, examine the concrete surface. Newly poured concrete that has reached at least 28-day strength (typically ≥20 MPa) is more receptive to nailing than older, fully cured concrete, which can be significantly harder. Avoid hammered nails in cracked or spalled areas to reduce deflection.
2. Pre-Drilling for Hard Surfaces
In many practical cases, especially with high-density or older concrete, pre-drilling a pilot hole improves accuracy and reduces breakage. Common practice is to drill a hole with a masonry bit that is 0.5–1 mm smaller than the nail diameter. Field data indicates that this method can reduce installation errors by more than 40% in hard substrates compared with direct nailing.
3. Maintain Proper Driving Angle and Force
Concrete nails should be driven perpendicular to the surface. Angled strikes increase lateral stress and can cause nail bending or surface cracking. Controlled hammer strikes (steady, moderate force) help the nail penetrate without harming the surrounding material.
4. Use Appropriate Tools
Manual hammers are adequate for small jobs, but for repetitive nailing, powder-actuated tools or specialized masonry nail guns improve speed and consistency. Match the tool to the nail length and shank diameter to avoid incomplete penetration or surface chipping.
5. Consider Spacing and Edge Clearance
Proper spacing helps distribute loads evenly. Installers commonly maintain a spacing of 40–50 mm between nails and at least 50 mm from edges of the concrete to minimize splitting or cracking.
6. Account for Environmental Factors
Temperature and moisture can affect installation. In cold conditions, concrete becomes more brittle and may chip if nails are driven with excessive force. Outdoor applications often use nails with corrosion-resistant coatings, such as galvanized finishes, to extend functional life.
FAQ
What surfaces are concrete nails suitable for?
Concrete nails are designed for concrete, solid brick, and cement block surfaces, not for soft materials like wood alone.
Do I always need to drill a pilot hole?
Not in lightly cured or low-density concrete, but drilling is recommended for older or high-strength surfaces.
Can concrete nails be removed after installation?
They are meant for permanent fastening; removal may damage the substrate.
How deep should the nail penetrate?
Aim for at least 25–30 mm of concrete nail penetration beyond the material being fastened to ensure secure holding.
 Quick Links
